Interior design brief: template and step-by-step guide
By Faura ·


An interior design brief is a short, shareable document that sets out your goals, constraints, and deliverables so that every proposal you receive can be judged against the same information. Agree one with the client before proposals are prepared, and far less back-and-forth is needed later.
The single most important reason to write a brief is alignment: it stops a designer guessing at your priorities and stops you being surprised by their proposal. A working brief needs project goals, room-by-room scope, budget framing rather than one fixed number, timeline drivers, functional and technical needs, visual references, and a named decision-maker.
Here is a mini-template you can paste into an email tonight:
- Rooms in scope: which spaces, and their intended use
- Goal per room: what “done well” looks like
- Budget: a range, plus which rooms take priority
- Deadlines: move-in date, event date, or other hard constraint
- Constraints: structural, access, or lease restrictions
- Visual references: three to five images, annotated with what you like
- Decision owner: who signs off changes and by when
Keep it honest rather than polished. A rough brief that tells the truth about your budget beats a beautifully formatted one that hides it.
Key takeaways
A complete interior design brief succeeds when it states goals, scope, budget priorities, and a named decision-maker clearly enough that any designer’s proposal can be judged against the same terms.
| Point | Details |
|---|---|
| Write the brief first | Draft it before contacting a designer so every proposal you receive is directly comparable. |
| Frame budget by category | State priorities across joinery, lighting, and furniture instead of one lump figure. |
| Set formal checkpoints | Agree concept approval, final sourcing approval, and a pre-installation walkthrough in advance. |
| Name a decision-maker | State who signs off changes and their expected turnaround time. |
| Keep it to two pages | A concise, honest brief works better than a long, polished one. |
Table of Contents
- What is an interior design brief and why does it matter?
- The essential elements to include in every interior design brief
- How do you write an interior design brief step by step?
- A ready-to-use interior design brief template and example
- How do you set realistic timelines and review checkpoints?
- Common mistakes that weaken a design brief
- What should you expect from a designer’s proposal?
- How does a trade showroom help you finalise a brief?
- Where to find further guidance and templates
- An editor’s view on writing a usable brief
- Sources
What is an interior design brief and why does it matter?
An interior design brief is a working, shareable document that connects your vision, your constraints, and the deliverables you expect from a designer. It is not a legal contract and it is not a mood board. It sits between the two, translating what you want into terms a professional can price, schedule, and act on.
A good brief reduces rework because it forces decisions before drawings begin, not during them. It also makes competing proposals genuinely comparable: when every designer answers the same brief, you can weigh their fee, timeline, and approach against identical assumptions rather than guessing which one understood you best. A clear, written brief is widely treated as the foundation of professional practice, and vague or missing briefs are a common source of fee disputes.
Pro Tip: Treat the brief as a working document you revisit at each milestone, not a contract you sign once and forget. Constraints change as sourcing progresses, and the brief should change with them.
The essential elements to include in every interior design brief
A brief earns its keep only if it covers every field a designer needs to price and plan the work. Skipping one of these is the most common reason projects stall mid-way through.
- Room-by-room scope: list each space and describe the experience you want, not just the furniture, so “kitchen” becomes “a kitchen that works for two cooks and doubles as a homework table.”
- Goals and measurable objectives: vague ambitions like “make it nicer” give a designer nothing to price; “increase usable storage by a third” or “create a flexible home office for video calls” does.
- Budget by category, not one number: frame spend as priorities across joinery, lighting, furniture, and finishes, and flag which rooms deserve the largest share.
- Timeline drivers and hard dates: note fixed deadlines such as a move-in date or a letting date, and build review checkpoints in around them.
- Technical and functional needs: storage capacity, lighting layers, power positions, access restrictions, structural limits, and any sustainability or low-maintenance priorities.
- Visual references: three to five images per space, each annotated with the specific detail you like, whether that is a colour, a proportion, or a material.
- Stakeholders and sign-off: name who approves decisions and who is responsible for supplying site access, existing plans, or planning consents.
A handful of tools make assembling this easier than starting from a blank page. Canva offers a structured brief template covering scope, goals, deliverables, timeline, and budget in one document. FigJam suits a collaborative discovery session where you and a designer build the brief together on a shared whiteboard. Houzz Pro pairs brief templates with scheduling tools, useful once you move from planning into milestones. And xTiles works well for gathering visual references and notes in one scrollable board before you formalise anything.
How do you write an interior design brief step by step?
Building the brief happens in four stages, each feeding the next.
- Discovery and data gathering. Take site photos, pull any existing floor plans, set a rough budget range, confirm key dates, and note who actually uses each room day to day.
- Collate and prioritise. Group functional needs and constraints by room, attach your annotated visual references, and rank items within each budget category so priorities are explicit rather than implied.
- Draft and circulate. Write the brief in one to two pages, include a deliverables list and a decision timetable, then share it for a single round of consolidation rather than endless edits.
- Set formal checkpoints. Agree review points for concept approval, final sourcing approval, and a pre-installation walkthrough, so scope changes get caught before they become costly.
A short client questionnaire speeds up step one considerably. Ask for: room use, number of occupants, any material intolerances or allergies, must-have items, must-avoid items, and priority spend by category. Feed the answers straight into your draft brief.
Pro Tip: Freeze procurement once the brief is finally approved, unless a signed change order is agreed. Reopening sourcing decisions after approval is the single most common cause of late-stage cost creep.
A ready-to-use interior design brief template and example
A workable interior design project brief example fits on one to two pages. Longer documents get skimmed, not read.
The mandatory fields are: project title, client name, a two-line project summary, rooms in scope with a goal for each, budget by category with priorities marked, timeline with key milestones, technical notes (power, lighting, storage, access), outstanding decisions, deliverables, and a sign-off line. Optional fields include a mood board link, sustainability preferences, and a maintenance note.
A worked example for a one-bedroom flat refresh might read: “Living room: goal is a flexible space for remote work and hosting six guests; budget priority high for joinery, medium for furniture; must include two power points near the window wall; reference image 1 shows the preferred oak tone; decision owner: client, 48-hour turnaround on sample approvals.” That single paragraph tells a designer more than three pages of adjectives would.
For formatting, Canva and FigJam both handle this well if you want something collaborative and visual. A plain Google Doc is often better when you need fast edits with a designer who prefers tracked changes over a design tool.
How do you set realistic timelines and review checkpoints?
Every interior design project timeline follows the same dependency chain: concept, then approvals, then sourcing, then procurement, then inspection, then installation. Each stage only starts once the one before it is signed off, so a date set without checking what precedes it is really a guess.
- Concept approval — the client agrees the direction before any ordering begins.
- Final sourcing approval — every material and finish is confirmed, not provisional.
- Pre-installation walkthrough — site conditions are checked against the plan before trades arrive.
- Handover — final inspection and snag list closed out.
As a rough planning baseline, a single room typically needs a matter of weeks, a multi-room project several months, and a full home considerably longer, with Houzz Pro’s scheduling guidance recommending a detailed milestone schedule from discovery through to installation. Foyr’s scheduling guidance recommends building in procurement lead times and vendor confirmation buffers of around 10 to 15% per phase, since delayed deliveries are one of the most common causes of slippage. Show the client-facing summary of milestones in the brief itself; keep the detailed internal schedule, with its buffers and vendor notes, as a separate working document.
Common mistakes that weaken a design brief
- Vague goals with no priorities. A wish list without ranking forces a designer to guess what matters most; rank every item and frame the budget around that order.
- Withholding a realistic budget. A range with category priorities lets a designer propose something achievable rather than aspirational.
- Omitting technical needs. Storage, lighting, and power are easy to forget until installation day; check them against a room-by-room list before sharing the brief.
- Treating the brief as fixed. List open decisions explicitly rather than pretending everything is settled from day one.
- No named decision-maker. State who signs off and how quickly, or approvals stall the moment the designer needs an answer.
What should you expect from a designer’s proposal?
A clear brief lets a designer validate scope, sanity-check your budget, and sketch a procurement plan before they write a fee proposal. Because every designer works from the same anchors, rooms, deliverables, budget categories, and milestones, their proposals become genuinely comparable rather than apples to oranges.
Expect a proposal to include a deliverables list, explicit exclusions, a procurement strategy, and stated lead-time assumptions. Before accepting, ask: what assumptions has the designer made that aren’t in my brief, what dependencies could delay sourcing, are there hidden costs outside the fee, and where is the timeline riskiest?
How does a trade showroom help you finalise a brief?
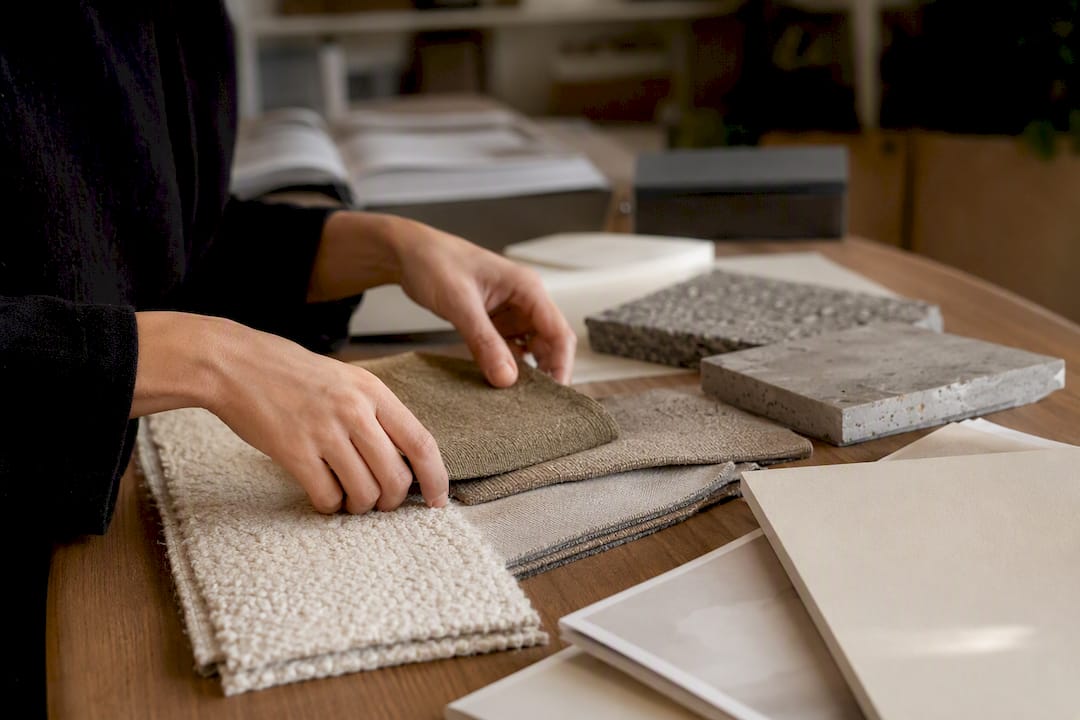
Material decisions made from a swatch or a catalogue photo are the ones most likely to be reversed later, generating change orders after procurement has already begun. Seeing finishes together in a physical space, rather than guessing from samples, resolves far more of these decisions before they become expensive.
Faura’s trade showroom in Westminster shortens that sourcing loop: designers and their clients can view materials side by side, test combinations, and confirm finishes in the same visit, which is where late-stage changes are most often prevented.
Faura hosts client appointments alongside a curated library of more than 200 brands, giving designers a working London base to settle sourcing questions in one place.
Pro Tip: Book a showroom appointment before final sourcing approval, not after. Confirming lead times and finishes at that stage, rather than mid-installation, is what keeps the brief’s timeline intact.

If you’re a designer looking to bring your own clients through this process, Faura’s trade membership gives you trade access to the showroom, samples and technical files for that final sourcing step.
Where to find further guidance and templates
The British Institute of Interior Design sets professional practice standards worth checking before commissioning work. Build Design Hub and Foyr cover milestone and schedule guidance in more depth, while Canva, Asana, and Houzz Pro supply downloadable brief templates you can adapt directly.
An editor’s view on writing a usable brief
Most advice on this topic overcomplicates the brief into something resembling a legal contract, and that is the wrong instinct entirely. The evidence from schedule-focused sources like Houzz Pro and Foyr points the other way: what actually prevents delay isn’t a longer document, it’s a shorter one with explicit checkpoints and a frozen procurement date.
The conventional advice to “be thorough” often produces ten-page briefs nobody rereads after the first meeting. What matters more is naming a single decision-maker and stating budget priorities honestly, since most disputes trace back to one of those two gaps, not to missing paragraphs.
If you take one thing from this guide, prioritise the review checkpoints over the aesthetic content. A brief with a vague mood board but a clear sign-off process will outperform a beautifully referenced one with no named decision-maker every time.
Sources
- Interior Design Project Brief | Build Design Hub
- How to create an interior design project schedule template? | Foyr
- Startup guide: how to build an interior design schedule (Houzz Pro Learn)
- Design brief guide and template | Canva Docs